Instagram

  • Home
  • About
  • Contact
    • Category
    • Category
    • Category
  • Shop
  • Advertise
Powered by Blogger.
twitter pint insta

The Stitch Maker

Sometimes Cydia doesnt have an icon you want. It happened to me and I searched and searched and couldnt find a decent updated tutorial on how to do it. I finally just mixed some ideas from here and there and figured it out.
Its not an easy tutorial but it isnt complicated either. It just takes a little while but once you get the hang of it, its fairly easy.

This tutorial is using Windows 8.

First things first, youre gonna need a few things:
-Image editing software. (Photoshop, Paint, GIMP, etc.)
-WINSCP (Download link in tutorial.)

If you dont have access to either, please email me and Ill make your icon(s) for you :)

Step 1: Download/open your image editing software with the image of your choice. Id recommend googling what youd like as a "silhouette". Im using Photoshop.


Step 2: If its possible, delete the white background. You wont be able to see it but it might make a difference when you use it as an icon.
Step 3: Crop picture leaving only a tiny bit of space around it.


Step 4: Resize to 45 Pixels in Width. Keep the ratio to the Height the same.
Step 5: Save as a PNG file onto your Desktop. This is very important. And name it "black@2x".
Step 6: Go to your Desktop and make a new folder. Name it whatever youd like the icon to be called.
Step 7: Click and Drag your PNG picture into the folder.


Step 8: Right click and Copy your file and paste it in the same folder 8 times.


Step 9: Rename them so they show as follows. This is also very important.
black
black@2x
etched
etched@2x
logo
logo@2x
logo@3x
silver
silver@2x

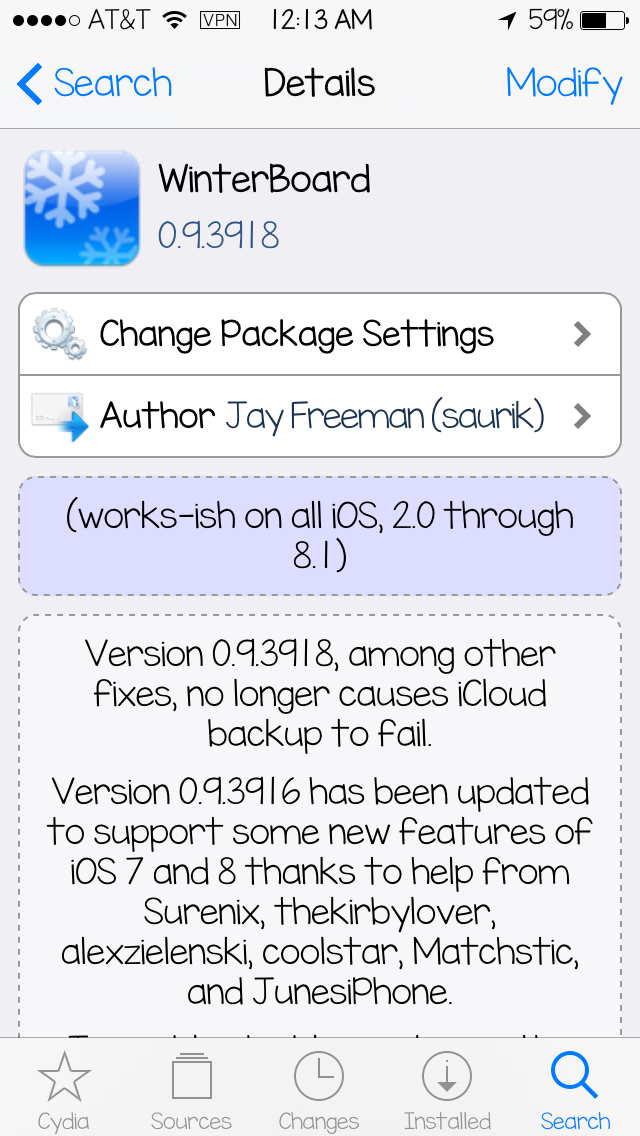
UPDATE 7/1/15 You may need to download "OpenSSH" from Cydia before the next step.
Step 10: Click here to install WinSCP. And click on "installation Package." Go ahead and download and install.
Step 11: Once its installed, open the program and at the top right hand corner youll click on "New". 
Step 12: For Host Name type in your IP Address. (On your device > Setting > Wi-Fi> "Your Network"'s i>Scroll Down until you see IP Address)
For User Name type in "root" and for password "alpine". Click Login.
Step 13: Once youre logged in your device, go back until youre in the <root> file.


Step 14: Click on Library>then Zeppelin.
Step 15: Click and drag your logo folder into Zeppelin. Click Copy. And itll do it fast.
Step 16: Double check the Zeppelin folder to make sure its there.


Step 17: Once its there go to your device. Into Settings. Then scroll down to Zeppelin, hit "Theme", and activate your new logo! :)


It may take you a few tries to get the sizing right. It did for me. But once you get the hang of it, youll want to make so many! Have fun and good luck :)


Share
Tweet
Pin
Share
1 comments
This is one of the funnest parts about Jailbreaking your device. Youll love this!
Okay so lets get started!

Step 1: Open Cydia, hit "Sources". (Skip to Step 5 if you already have ModMyi.)
Step 2: "Edit" then "Add ".
Step 3: Type this in exact;y!
http://apt.modmyi.com
Step 4: "Add" and install.

Step 5: Open Cydia, hit "Search". And search for "Zeppelin".
Step 6: Hit "Install". And wait for it to finish.

Step 7: Respring or reboot.
Step 9: Go to Settings. And scroll down until you see Zeppelin.
Step 10: Hit "Theme" and go ahead and choose whichever youd like.
And thats it! You can go to Cydia and search for Zeppelin and look at all the ones you can install! Theres hundreds!
If youd like to learn how to make your own out of an image click here :)

Share
Tweet
Pin
Share
No comments
If youve already done your own search for a theme you want installed or you want to learn how I installed mine, read along.


The theme im currently using is called Enkel.
I love the pastel-y look of the icons and it has most of them covered.
Step 1: Open the Cydia app.

Step 2; Hit "Sources".
Step 3: Hit "Edit". Then "Add".

Step 4: Type in this exactly!
http://repo.biteyourapple.net/


Youll use this source for alot of paid tweaks that you can get for free :)

Step 5: Hit "Add Source".

Now itll show the black screen with a ton of writing. Let it install and either..

Step 6: Reboot or Respring your device.

Once it starts up again...


Step 7: Go back to Cydia.
Step 8: Hit "Search."
Step 9: Type and hit "Enkel".
Step 10: Install.
Step 11: It might ask you to Respring, go ahead and do that if it does.


Step 12: Now go to Winterboard either on your Settings or through the actual app.
Step 13: Hit "Select Themes:
 Step 14: Hit all those that apply. Play around to see what you like.
Step 15: Respring and voila!

Go ahead and have fun and look up different themes! :)


Share
Tweet
Pin
Share
No comments
So following my most recent post, I wanted to share what I have installed on my phone to get you started on some tweaks or if you like something youd like to have.
First things first, my theme.
With most themes the main thing youll need to have is Winterboard. Which is sort of an app for installing themes and theme related tweaks.

Step 1: Go to Cydia app.

Step 2: Hit Search and type "Winterboard". Tap It.

Step 3: Mine is already installed but up top in the picture where you see "Modify", itll say "Install" for you. Go ahead and do that.

Step 4: Youll see a black screen with a bunch of writing appearing. Thats what happens when you install a tweak or app through Cydia. Let it finish,

Step 5: Go ahead and Respring or Reboot your device.

Step 6: Once your device starts up again, youll see it on your Springboard (where your apps are).

Youre not going to use it right away now, but this is the main app youll use to install themes and theme related tweaks.

So lets move along and show you how I installed my theme. Go ahead and click here :)


Share
Tweet
Pin
Share
No comments
So this is a little different than what I usually post. But it bothers me that people are paying someone else for a service in which they could do themselves for no cost at all. With that being said, I am going to show you how to Jailbreak your iPhone in iOS8!


I honestly recommend everyone to do this. Especially if you like customization and if youd like to get the best and full experience on your iOS device. If youre bored of your phone and need a change, this is a great way to start and youll feel like you have a brand new one!

You can change and add and customise so many things, the list is endless.

So lets get started!

(In this tutorial we'be using Windows. If you are using a Mac, please click HERE.)

BEFORE JAILBREAKING, PLEASE REGARD THE FOLLOWING:(credit)


  • Before jailbreaking, you must turn off any lock screen passcode or Touch ID (Settings > General > Touch ID & Passcode > turn off Simple Passcode) as well as Find My iPhone (Settings > iCloud > Find my iPhone), and naturally, your device will need to have spare storage space in order to run Pangu in the first place. Passcode and Touch ID can be turned on after the jailbreak and Cydia installation is complete.
  • Turn on Airplane mode. You can turn it off once jailbreak is complete.
  • You must have an iTunes restored version of iOS 8 / 8.1 installed on your device for the jailbreak to work. If you updated from iOS 7.x to 8.x from your phone then the jailbreak won’t work. You can download iOS 8.1 from here, and restore using iTunes.
  • Make sure you backup your device completely before proceeding either through iTunes or using iCloud (Settings > iCloud > Storage & Backup and turn on iCloud Backup). At this stage, there’s a reasonable chance that something may go wrong, and while many of you will undoubtedly be prepared to take this chance, you don’t want to lose your data for good.
  • You must have iTunes 12.0.1 or later installed on your PC before you can even begin. But that’s not it; it should also be running in the background when the jailbreak process is taking place.
  • Supported devices:
    • iPhone 6
    • iPhone 6 Plus
    • iPhone 5s
    • iPhone 5c
    • iPhone 5
    • iPhone 4s
    • iPad (2, 3, 4, Air, Air 2, mini 1, mini 2, mini 3)
    • iPod touch 5
  • Supported firmwares:
    • 8.0
    • 8.0.1
    • 8.0.2
    • 8.1

  • Jailbreaking


    Step 1: Download Pangu for Windows from here.
    Step 2: Right-click on the Pangu icon and then click on Run as Administrator.
    Step 3: With Pangu up and running, connect your iPhone, iPad or iPod touch to your PC using USB.
    Step 4: Click on the big ‘Start Jailbreak’ button in the center of the display, followed by ‘Already did’ on the next screen to begin the jailbreak process. Your device will reboot couple of times during the process so be patient.
    Step 5: Once the Pangu tool says ‘Jailbreak succeeded’, that’s it. It’s done, you will find Pangu app along with Cydia app icon on the home screen. Simply run Cydia and start installing your favorite tweaks!

    Its fairly simple to do. You dont need any fancy software. And theres many tweaks you can look up on Youtube. To see whats installed on my phone, I will be making a post of my tweaks and such. Enjoy your new phone!

    To see me other Jailbreak tutorials go here.


    Share
    Tweet
    Pin
    Share
    No comments
    Newer Posts
    Older Posts

    About me

    Follow Us

    • instagram
    • twitter
    • Pinterest

    POPULAR POSTS

    • New Insert Alert! Colorful Arrows WO2P
      Hello everyone! Made some new inserts for you all. I obviously have a thing for watercolor. I made these because I sometimes dont have ...
    • Watercolour Planner Inserts (WO2P, Daily, Lists)
      Hello everone! I had so much making the last inserts so I decided to get a little more creative with these. Let me know what you think! ...
    • Gold Deer Inserts!
      Hello everyone! Here I wam again, coming at you with a new insert! Its a little different this time however. Because today, this one is f...

    Instagram

    Categories

    • becky higgins
    • crochet
    • cydia
    • erin condren
    • filofax
    • freebies
    • iphone
    • jailbreak
    • kate spade
    • kikki k
    • kikkik
    • mommy
    • mommytips
    • paperchase
    • planner
    • planner inserts
    • planner printable
    • planner printables
    • project life
    • review
    • scarpbooking
    • shop
    • tuorials
    • tutorial
    • tutorials
    • tweaks
    • winterboard
    • zeppelin

    recent posts

    Facebook

    Blog Archive

    • ▼  2015 (12)
      • ►  August (1)
      • ►  July (1)
      • ►  June (1)
      • ►  May (2)
      • ►  February (2)
      • ▼  January (5)
        • Make Your Own Zeppelin Icons (iOS 8)
        • Changing Your Carrier Icon on iOS 8 (Zeppelin)
        • Installing Themes Using Winterboard (iOS8) (Enkel)
        • Installing Winterboard on iOS 8
        • How To Jailbreak Your iPhone
    • ►  2014 (7)
      • ►  December (1)
      • ►  November (1)
      • ►  October (1)
      • ►  September (1)
      • ►  August (2)
      • ►  July (1)
    Twitter Instagram Pinterest

    Created with by ThemeXpose | Distributed By Gooyaabi Templates